
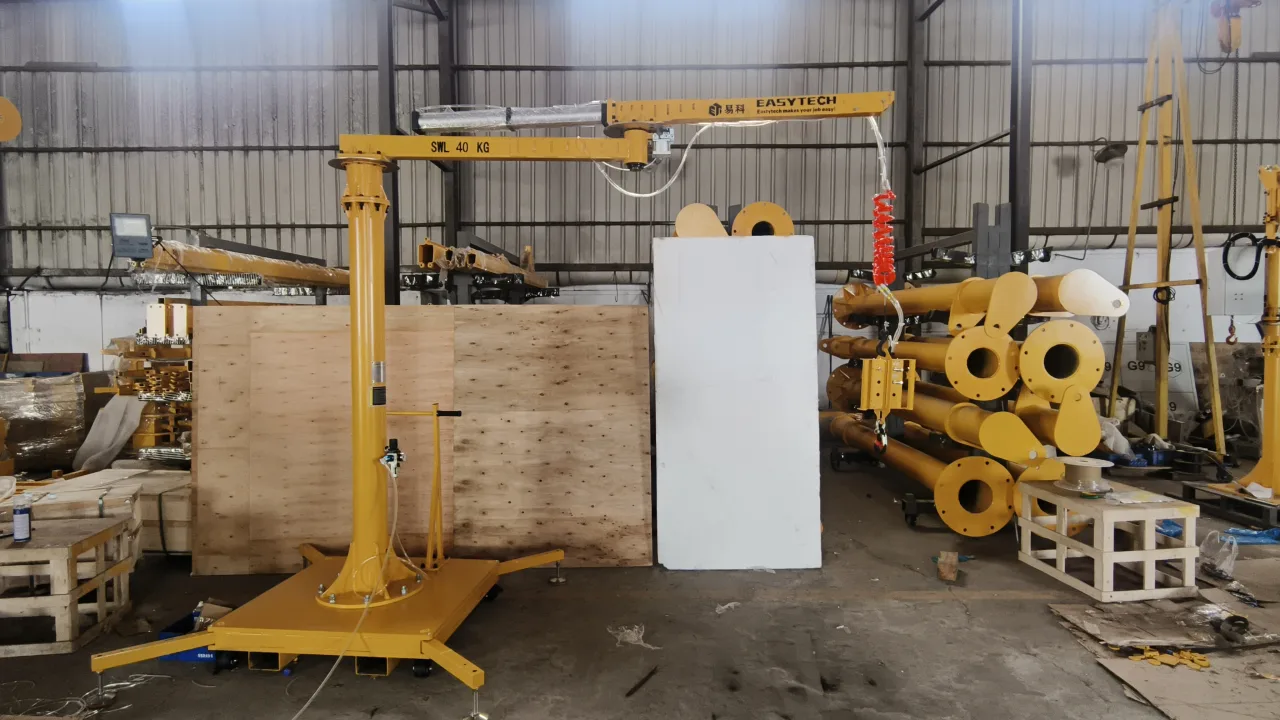
Why the pail’s lifting point comes first
A vacuum head needs a suitable sealing surface. A hook needs a lifting point suitable for the load. These are different ways of connecting to the pail, and neither should be selected solely from its diameter or filled mass.
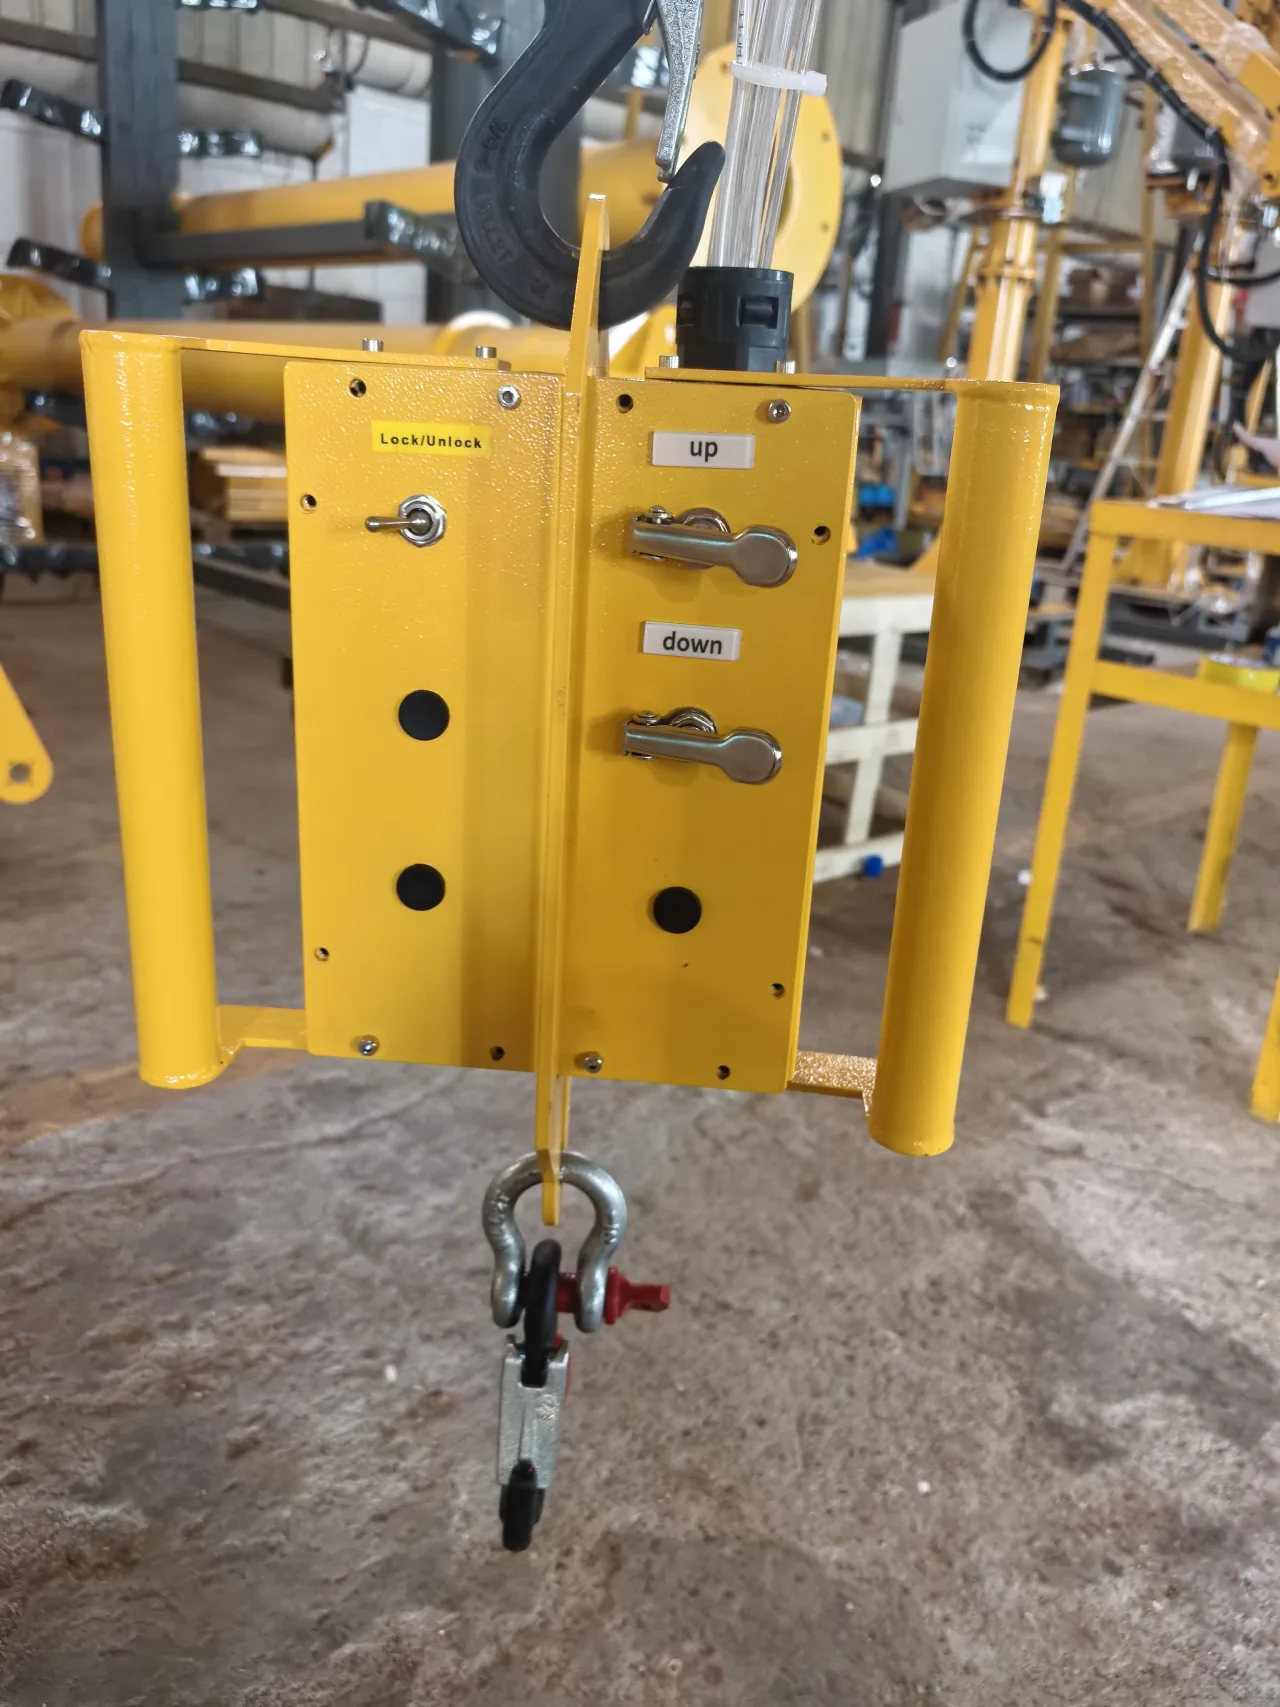
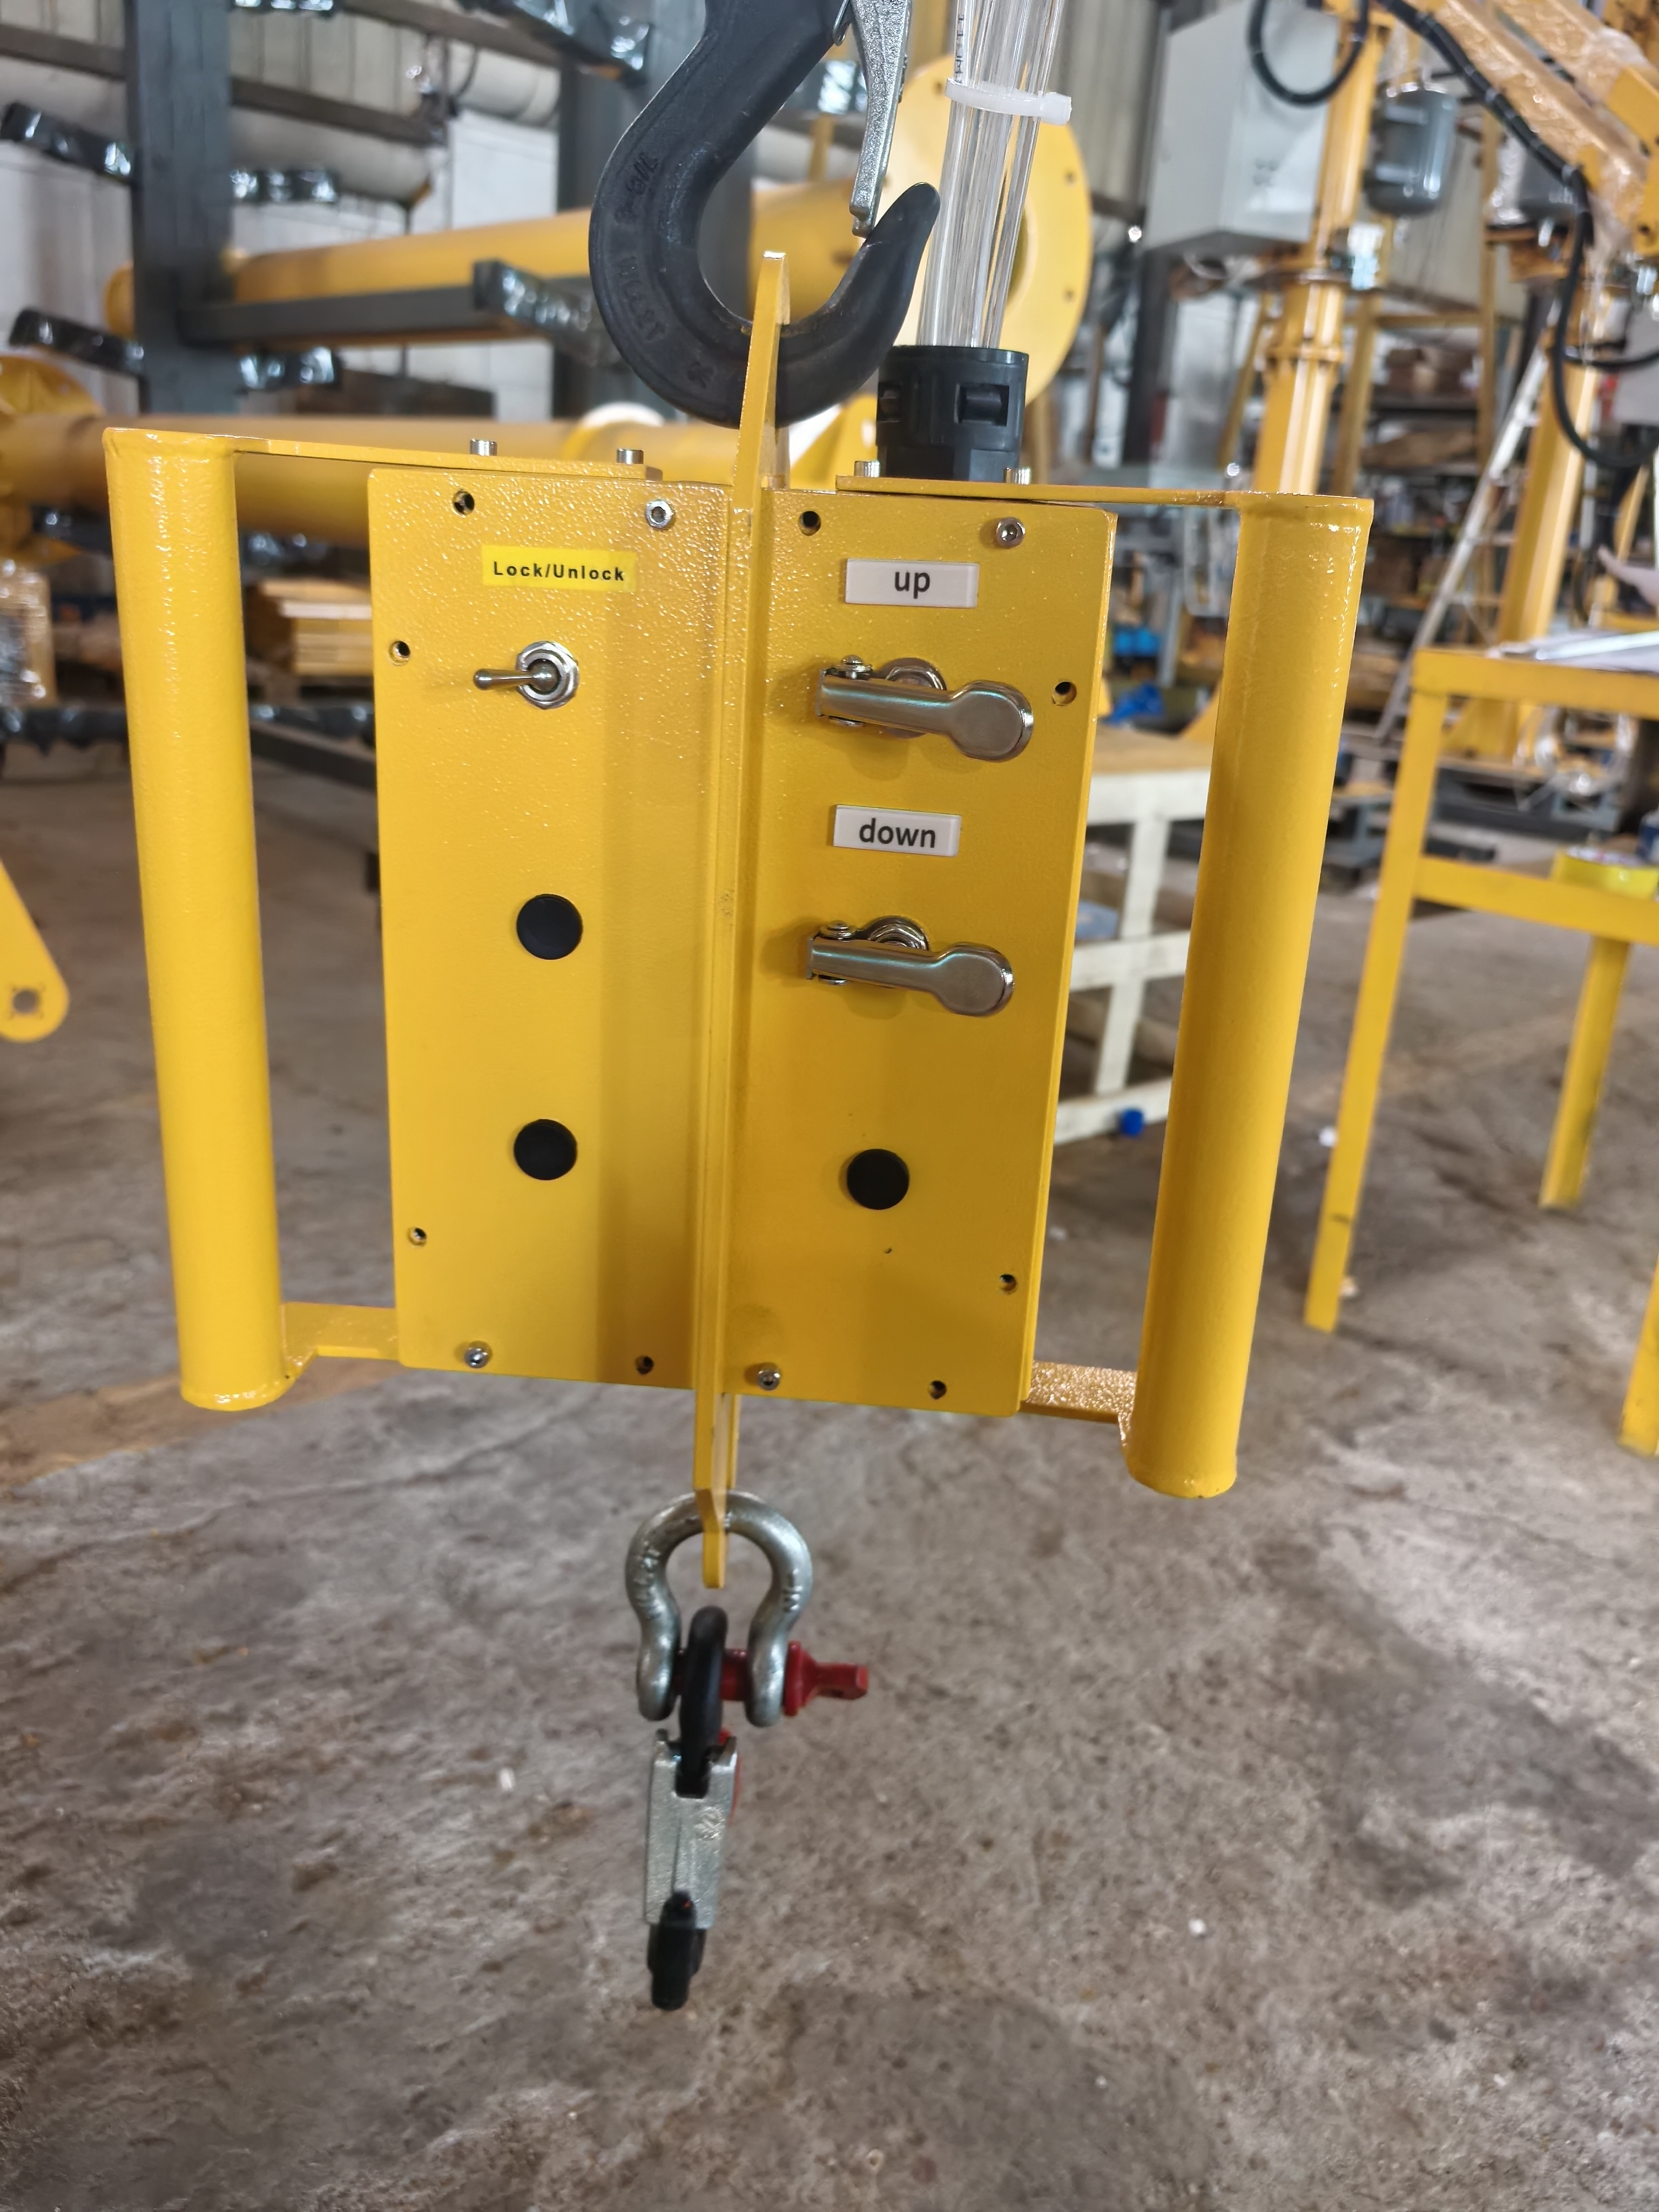
The factory assembly uses a hook below the operator’s handle. For pails with a bail or handle, confirm that the container manufacturer permits that point to support the filled pail in the intended handling operation. Check the handle attachments as well as the handle itself. A lid, rim or carrying feature should not be assumed to be a rated lifting point.
Container condition matters too. A damaged handle, loose fitting or distorted pail is a problem at the load connection even when the lifting machine is within its capacity.
Check the height at the hook and at the operator’s hands
The lifting point sits above the pail body, while the control handle sits above the hook. All of those elements occupy vertical space. To place a pail on a high platform, the mechanism must lift the connection high enough while leaving the controls within usable reach.
At the other end of the movement, a low pail can bring the operator’s hands too low if the arrangement is not planned for it. Give the designer the pickup height, receiving height, pail height and handle position. Describing only a required vertical stroke can miss the actual working posture.
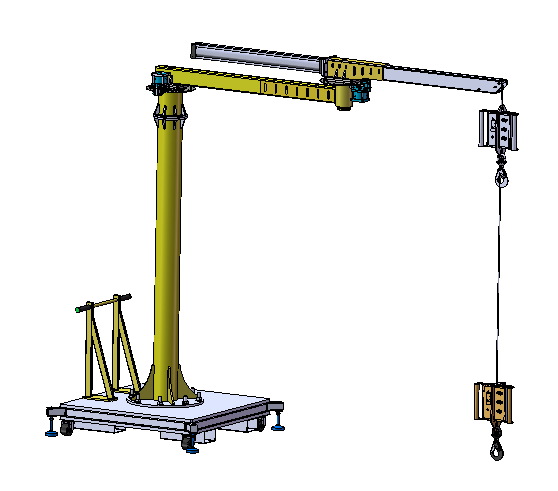
The folding arm helps define a route between stations, but its joints and the load’s swept path still need room. Check nearby tanks, guards, pipework and the operator’s escape space at the placement point.
Placing a pail and pouring it are different tasks
Placing
The hook arrangement supports lifting and transfer to a suitable resting position. Plan the support surface and release access so that the pail is stable before disconnecting it.
Pouring
A hook alone does not provide controlled tipping. If the process requires emptying the pail into a mixer or vessel, specify the angle, discharge height, spout access and containment needed. The solution may require a dedicated tipping attachment or a different transfer method.
Waiting
If the pail has to wait while a machine completes a cycle, provide a suitable resting position. Do not make an extended suspended hold an unplanned part of the process.
Mobile base: relocation and lifting are separate operations
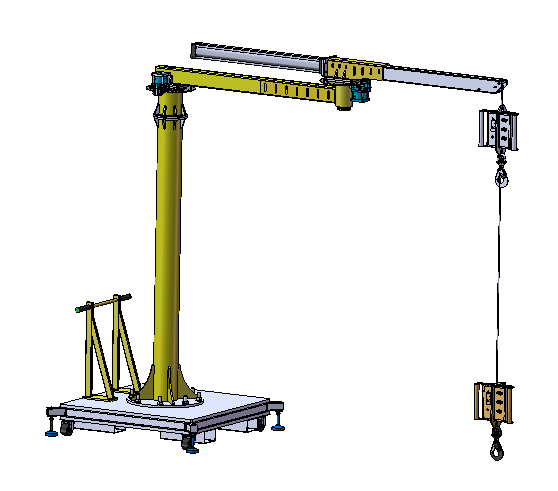
The factory arrangement includes a base with stabilising supports. That allows the base footprint and setup to be considered as part of the station, rather than treating the device as an attachment that can be parked anywhere.
Before lifting, the machine must be positioned and stabilised as specified for its configuration. Plan relocation without a suspended pail, with the arm in its prescribed transport position and the travel route clear. Floor condition and the support footprint matter at the new position, not only at the original one.
Air-powered does not automatically mean hazardous-area approved
The machine’s nameplate specifies 0.5–0.6 MPa air pressure and 40 kg capacity. Use the requirements on the machine’s nameplate, together with its instructions, when planning the supply. Raising pressure is not a way to increase the rating.
For paint or solvent handling, establish whether the station is a classified hazardous area. Pneumatic power by itself does not establish suitability for that area: mechanical ignition sources, static electricity, materials and the complete assembly also matter. Obtain the required assessment and documentation for the exact configuration before selecting it for a classified location.
NSW Government: non-electrical equipment for explosive atmospheres
Describe the job beyond “lift a 40 kg bucket”
Provide the filled mass and dimensions, photographs of the container and handle, pickup and delivery heights, and the route between them. Say whether the pail is only placed, needs to be tipped, or connects to another process. Include the available air supply, floor layout and any hazardous-area classification.
That information determines the attachment and workstation. It also avoids buying a lifting device that reduces the effort of pickup but leaves the hardest part—reaching, pouring or disconnecting—unchanged.
Can a stronger hook raise the machine capacity?
No. The assembled machine remains limited to its rated configuration, and the container’s lifting point must be suitable as well. A higher-rated individual component does not increase the rating of the system.